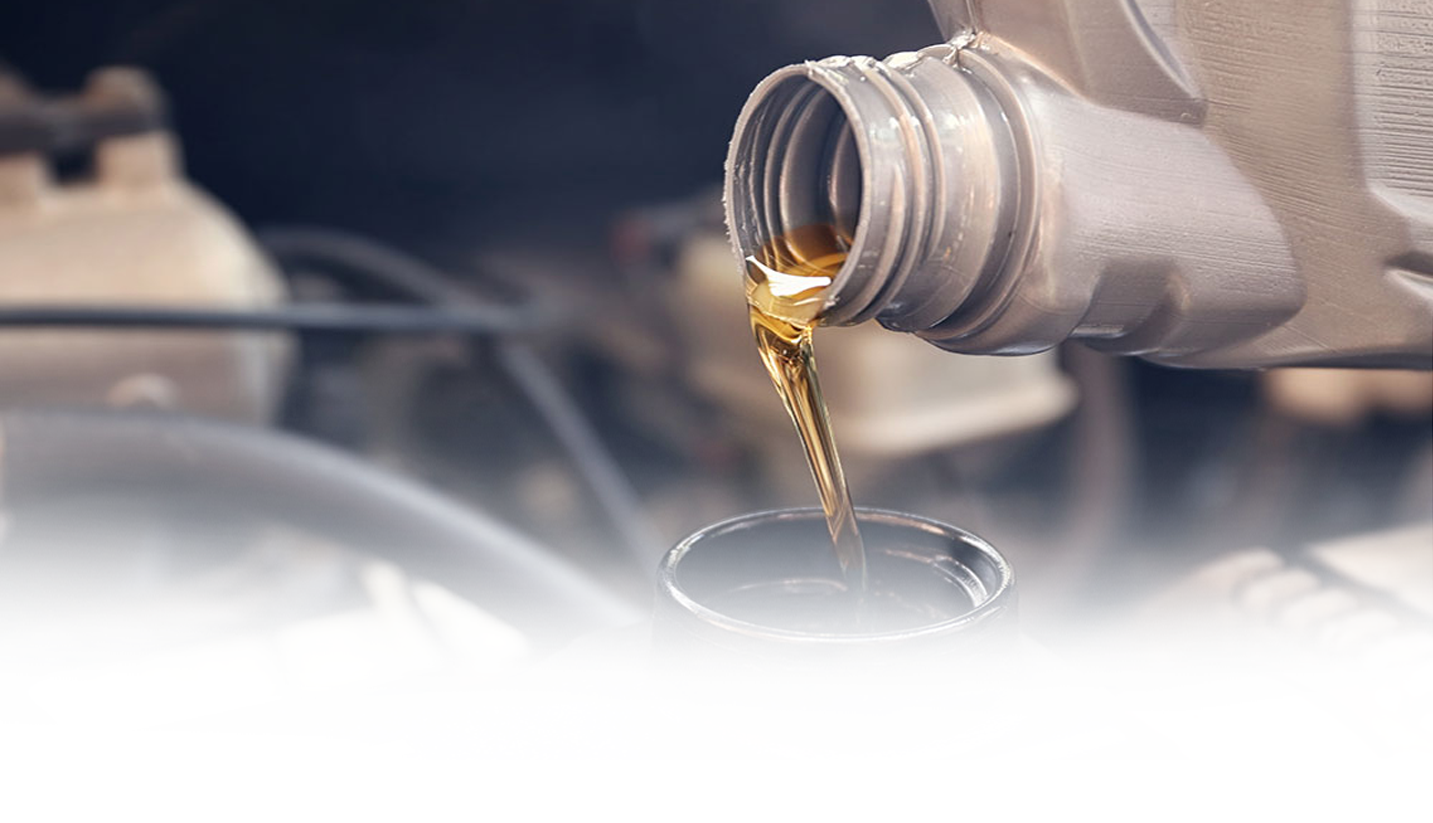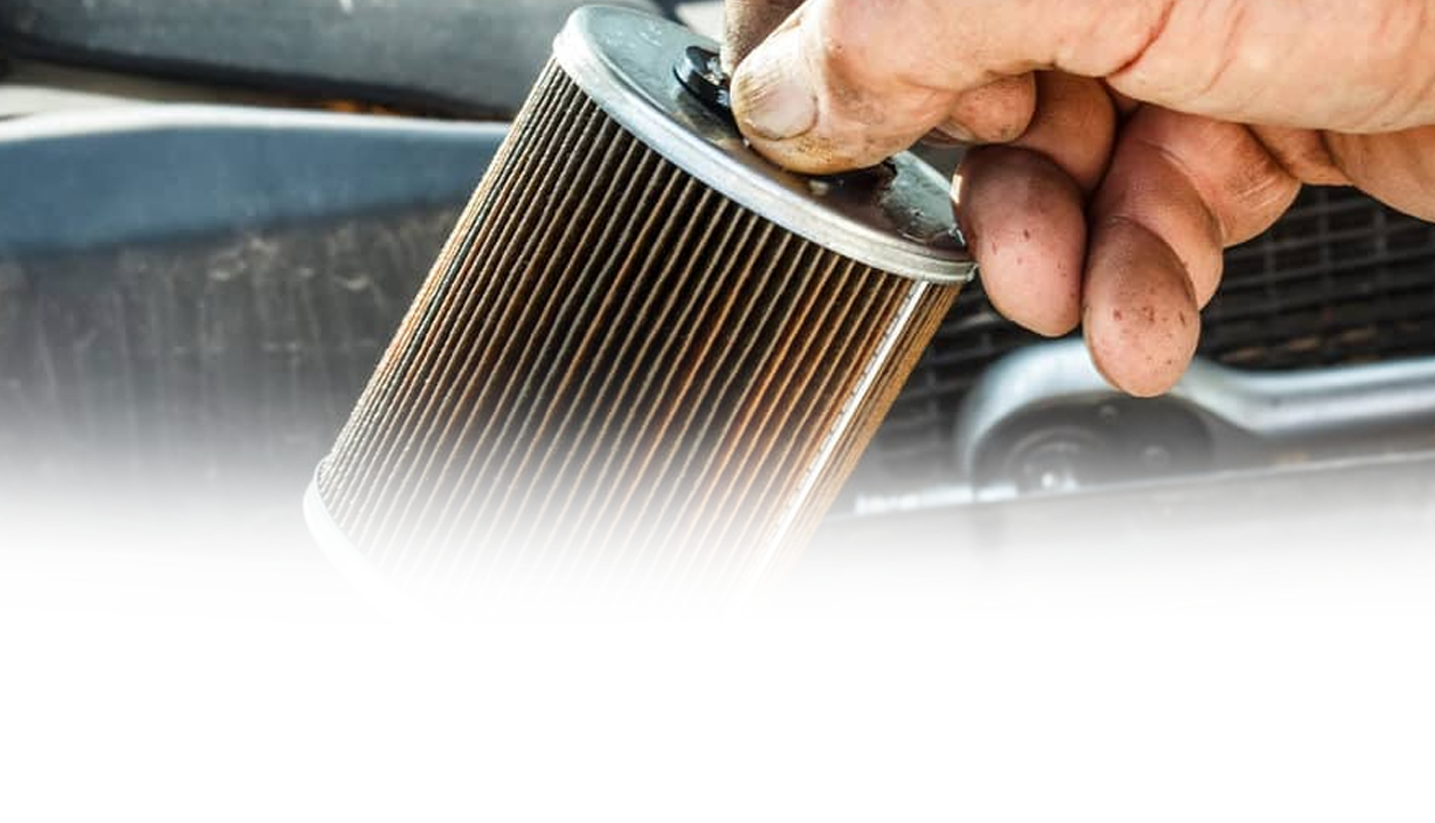


How to change oil filter

Changing the fuel filter is a part of regular maintenance. Keeping your fuel system properly maintained by Changing the fuel filter prolongs the life of the fuel pump. Dirt in the fuel is captured by the filter which clogs Over time, causing it to operate less efficiently. The clogged filter reduces fuel pressure and volume in the fuel System. If your vehicle is losing power, it could be a sign of a clogged fuel filter. Replace the filter at the Manufacturer’s recommended interval.
Disconnect the battery. Now that there is no reason for the engine to be started again Until the project is complete, you should disconnect the negative terminal on the battery.Removing the cable from the negative terminal will prevent the engine from being Started while you work. You will need to use a hand or socket wrench to loosen the nut Holding the cable onto the negative terminal, but you will not need to remove the nut Completely.
Locate the fuel filter. There are two common locations fuel filters are mounted in Vehicles, so you should refer to your vehicle’s service manual to help you determine Which place to look. The most common location for modern vehicles is along the fuel Line on the bottom of the car, just past the fuel pump. In some vehicles, the fuel filter is Located in the engine bay on the line that leads to the fuel rail.
Some vehicles may place the fuel filter in a different location, so refer to your service Manual to find out for sure.
You may need to access the fuel filter from inside the cabin of some vehicles.
Jack up the car if necessary. If the fuel filter is located on the underside of your vehicle,you will need to jack up the car to access it. Slide the jack under the car at one of its designated jack points, then either pump or twist the handle to raise the vehicle(depending on the style of jack).
Once the vehicle is jacked up, place jack stands beneath it before working under the vehicle.
Never rely on a jack to support the weight of a vehicle you are beneath while working.
Place a bowl or bucket beneath the fuel filter. Although you relieved the pressure in the fuel line, there may be a bit of fuel left in the line that can spill out when disconnected from the fuel filter. Place a bowl or bucket beneath the fuel filter to catch any fuel that drips or pours out.
Do not mix the fuel with oil or coolant to be recycled. Gasoline should be held in its own container until it can be dropped off to a recycling location.
Be careful of using plastic containers to hold gas, as it may eat through some kinds of plastic and cause a leak.
Remove the clips holding the fuel filter in place. Most fuel filters are held in place by two plastic clips. Locate the clips on either side of the cylindrical fuel filter, then use a flat head screwdriver to pop them out of the holes they are in. These clips may break as you remove them, so purchasing replacement clips along with your fuel filter is advised.
The clips that hold the fuel filter in place are made of thin plastic and tend to break easily. If you are able to remove them without them breaking, they may be reused.
You can purchase replacement fuel filter clips at your local auto parts store.
Remove the fuel lines from the filter. With the clips removed, slide the fuel lines away from the filter to pop them off of the nozzles on either end. Make sure to tip the fuel lines toward the bowl or bucket in place as you remove them to catch any spilled gasoline.
You should wear eye protection and gloves during this portion of the project to protect you from fuel splatter.
Do your best to avoid allowing any gas to pour out onto the ground.
Slide the fuel filter out of its bracket. The fuel filter is likely held in place by a metal bracket that wraps around its outer housing. With the fuel lines disconnected, you can slide the fuel filter out of the bracket by pushing it toward the front of the car. The fuel filter will have a slight bell shape, allowing it to slide out in only one direction.
If your filter sits in the bracket differently, you may need to slide it toward the back of the car to remove it.
Some fuel filters under the hood may he held in the bracket with a bolt that will need to be removed to slide the filter out.
Compare the new filter to the old one. Before installing the new fuel filter, compare it to the one you just removed. Make sure they appear to be the same outside diameter,that the nozzles are the same size, and that it will fit into the bracket.
If the fuel filters do not match, you will need to return the new one for the correct replacement filter.
Do not attempt to use a fuel filter for a different application in your vehicle, as it may not be capable of allowing the appropriate volume of fuel to pass through it.
Slide the new fuel filter into the bracket. The new fuel filter should easily slide into its bracket. If you have to force it, it is likely not the correct diameter. The fuel filter should stop when it is seated properly, as it should only be able to slide all the way out in one direction.
Be careful not to damage the housing of the fuel filter, as that may cause a leak.
If you find yourself pushing hard on the filter to make it fit, it is likely not the correct one.
Fasten the fuel filter to the fuel line. Slide the fuel lines onto the front and back of the filter the same way they were attached to the old one. With the fuel line in place on the filter, slide the plastic clips through the holes on the fuel line nozzle to secure the line in place on the fuel filter.
If the plastic clip breaks as you slide it in, do not attempt to drive the vehicle until you replace the broken clip.
Make sure the fuel lines are snug on the nozzles of the fuel filter before sliding the clips into place.
Lower the vehicle off of the jack stands. Jack up the car to relieve the weight on the jack stands, then slide them out from beneath the vehicle. Once the jack stands are clear,lower the vehicle to the ground by either releasing the pressure in the jack or turning the jack handle counter-clockwise, depending on your style of jack.
Be sure the jack stands are completely out of the way, otherwise they may damage the vehicle if lowered onto them.
Once the vehicle is safely on the ground, reconnect the battery to complete the project.

0 Reviews
Year
: 20240 Reviews

0 Reviews

0 Reviews
0 Reviews
0 Reviews
Item added to your wish List
Item added to your Compare List